LAUNCH X431 IMMO Tool Add BMW BDC2 key(G-Chassis)
LAUNCH X431 supports BMW BDC2 anti-theft system in the April upgrade, and can add keys for BMW F/G chassis models. This article will introduce how to add BMW BDC2 keys through Bench mode.
Before performing the operation, please ensure that:
The BMW/Mini software version is V10.40 or above;
An original key is required;
Network connection is required (this operation reads and writes a large amount of data, please use USB connection).
Required equipment:
X431 PRO series/ PAD series with IMMO software license, or X431 IMMO PLUS/ IMMO ELITE.
XPRO3 (G3) key programmer (X431 IMMO series comes standard with XPROG3, X431 PRO series/ PAD series needs to be purchased separately).
MCU3 adapter (not standard, needs to be purchased separately).
Operation process:
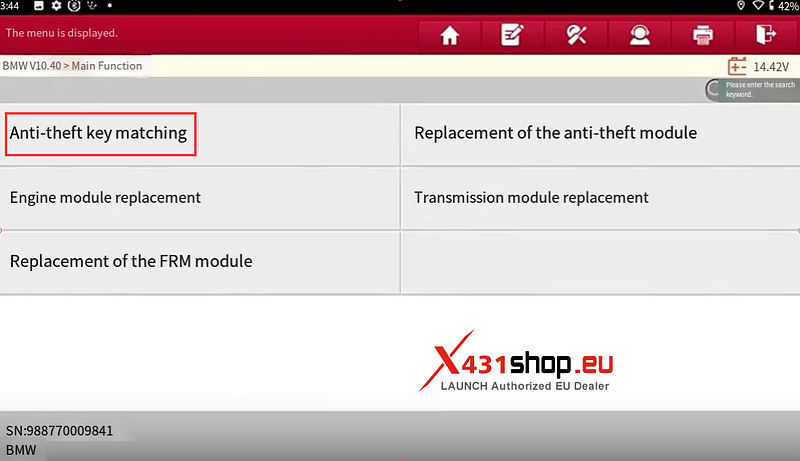
Take X431 IMMO PLUS as an example, select BMW model on the device operation interface, confirm the version information, and connect the XPROG3 (G3) key programmer.
1. Select [Anti-theft Key Match].
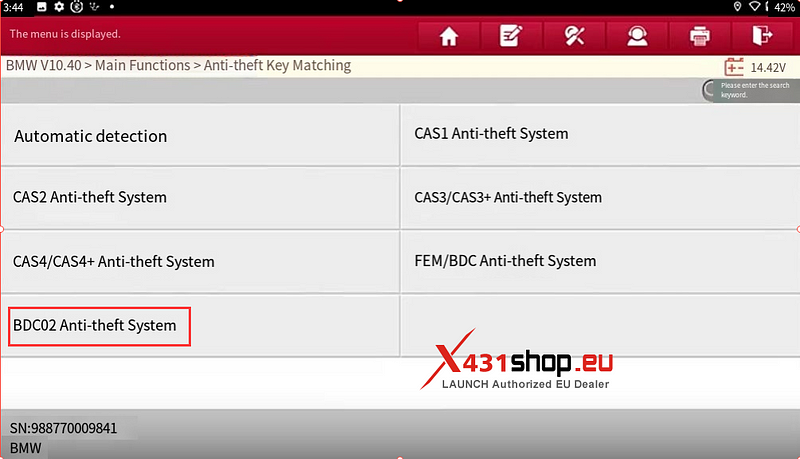
2. Select [BDC2 anti-theft system].
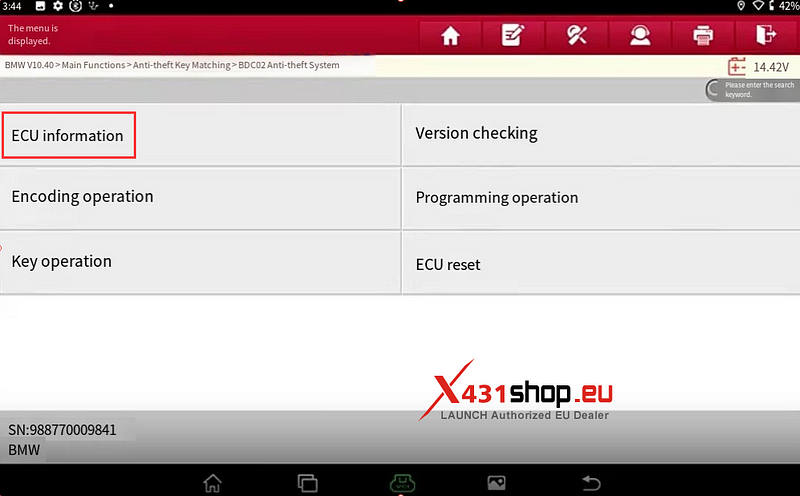
3. After reading the operation steps Select [OK].
Select [ECU Information]. After confirming that the information is correct, click [OK].
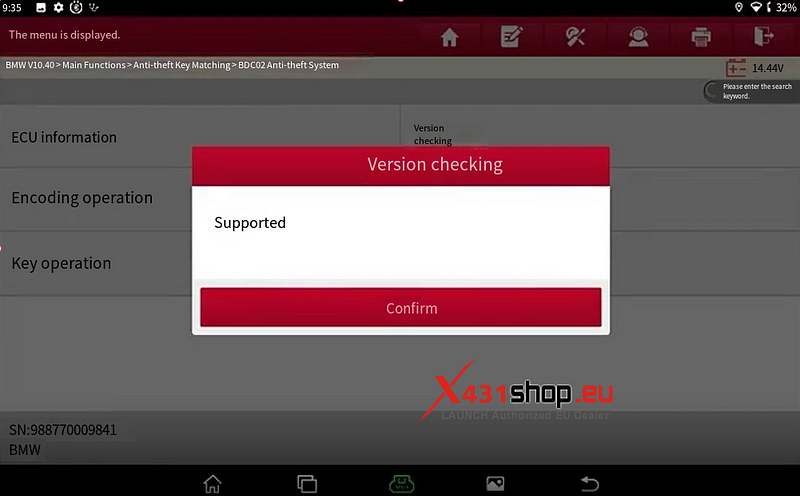
4. Select [Version Detection].
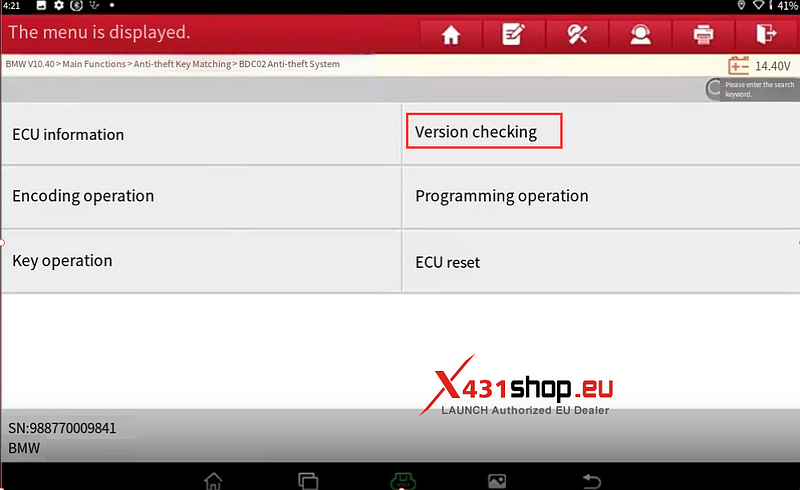
5. Device Prompt Support Select Confirm.
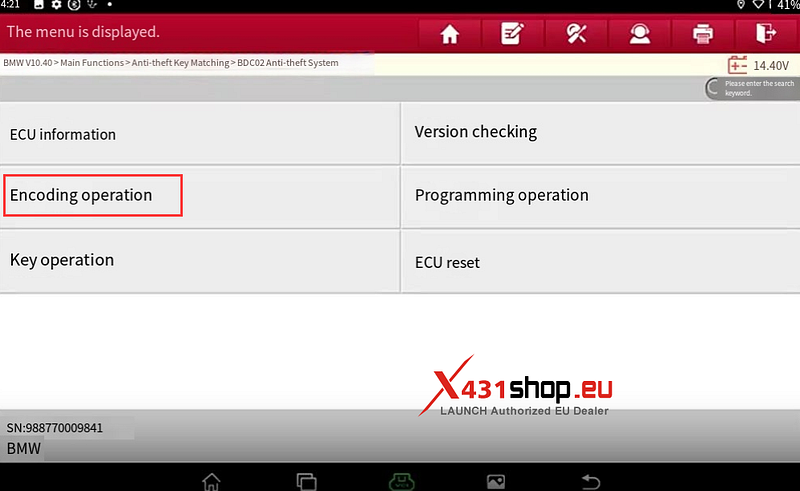
6. Select [Encoding operation].
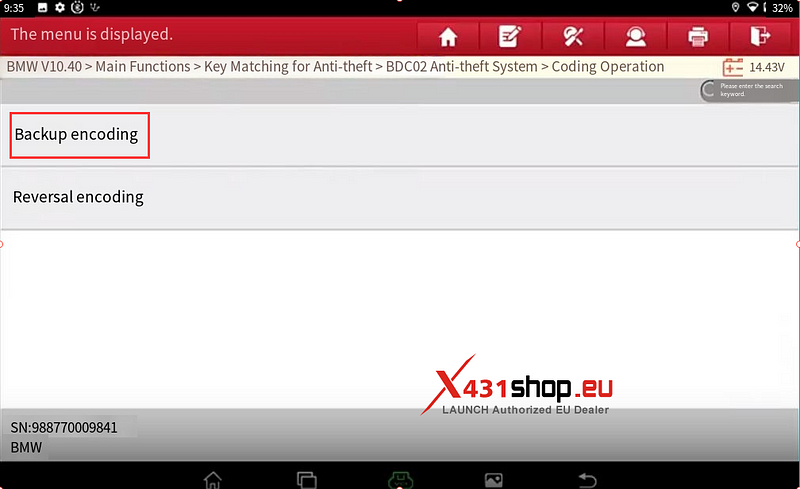
7. Select [Backup encoding].
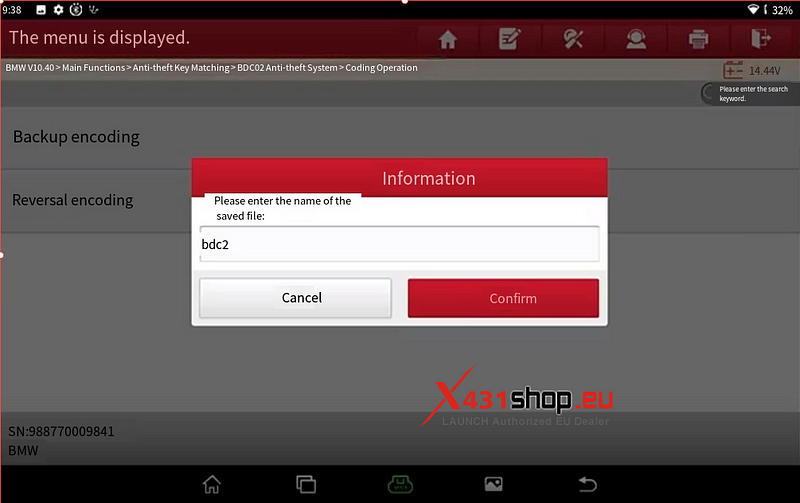
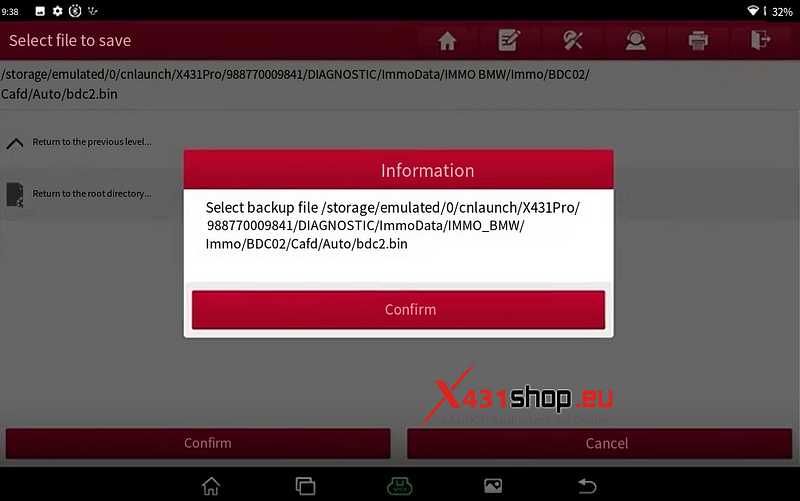
8. After entering the saved encoded file name(File names can only use numbers or English letters, not Chinese characters). To confirm the save file location, Select [OK].
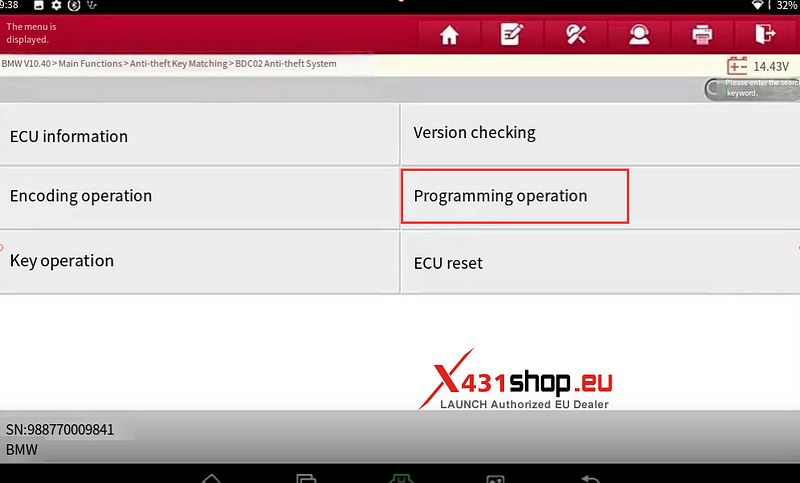
9. Prepare the original car key, connect the USB cable and keep the network normal throughout the process (the current read and write data volume is large, in order to improve communication stability, please use USB for connection). Select programming operation.
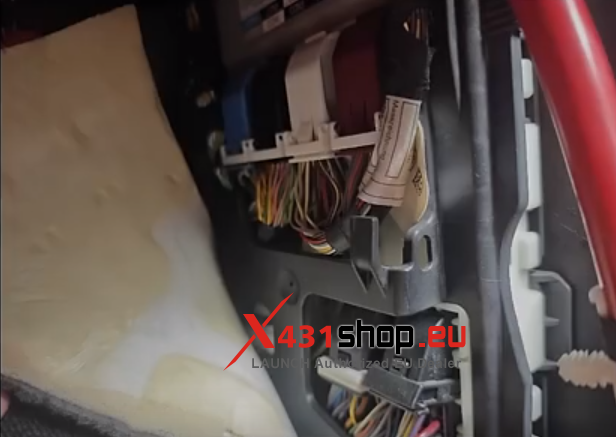
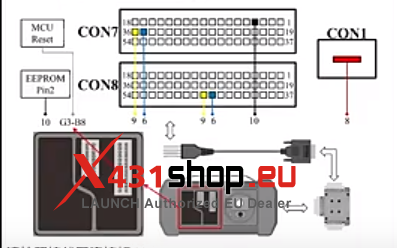
10. Select [disassembly and reading pretreatment]. Remove the BDC2 computer from the passenger side.
11. After veading the Precautions. Follow the device prompts: Modules after unpacking Use a cable to connect the octagonal chip. 25LC256 pin 2 out. Pin out the RESET pin connecting the MCU.
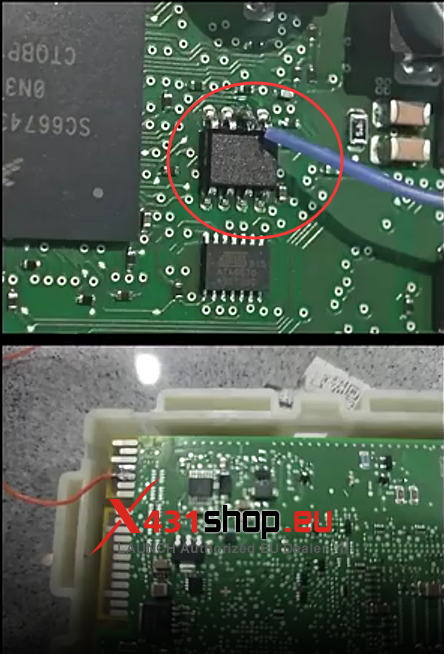
Note 1:
1. EEPROM Pin2 will need to be disconnected and connected multiple times later, so please use wires that are easy to operate;
2. After connecting EEPROM Pin2, please check whether Pin2 and Pin3 are short-circuited. Short-circuit will damage the ECU. Please make sure that there is no short-circuit before proceeding.
3. After connecting the MCU Reset pin, make sure to distinguish it from EEPROM Pin2, and then put on the ECU shell.
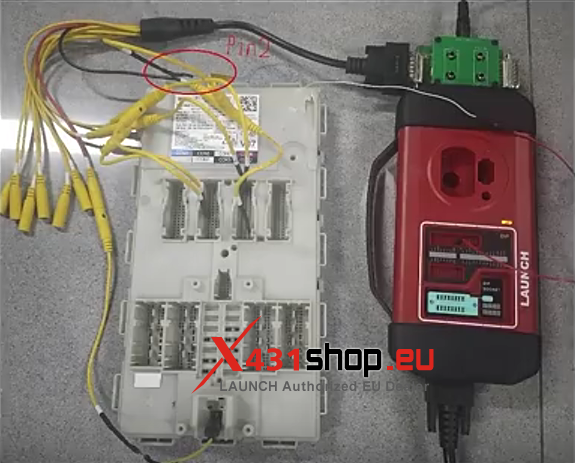
12. Connect the G3 programmer to the MCU3 adapter board, BC cable harness, Select OK

Note 2:
1. Connect the BC Cable harness to the ECU and ensure that the idle harness is away from the ECU to prevent damage to the ECU;
2. After all harnesses are connected, connect an external 12V power supply to the MCU3 adapter board. Note that the power supply cannot exceed 12V;
3. If the function fails midway, first disconnect the external 12V power supply of the MCU3 adapter board, then disconnect the connection between MCU Reset and B8 and EEPROM Pin2 and GND; then connect an external 12V power supply to the MCU3 adapter board, read the ECU information, and if the SWFL version is lost, execute the programming repair function to repair it.
13. To connect according to the wiring diagram, Select [OK]
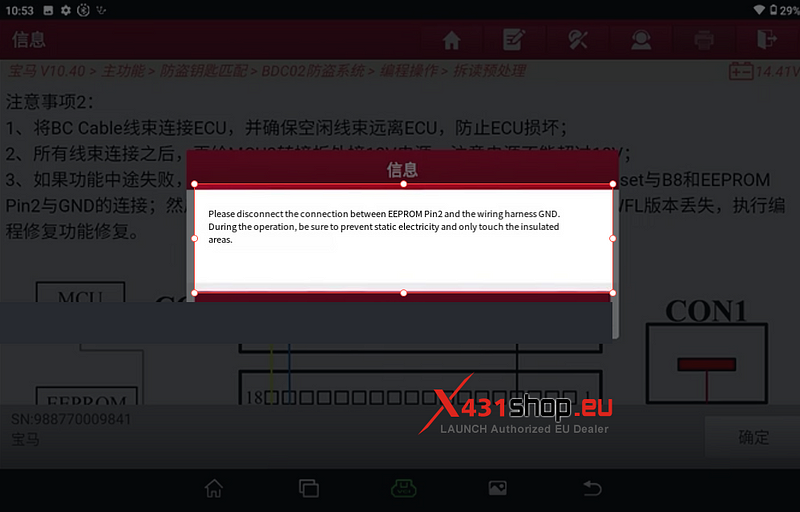
14. After disconnecting Pin2 and GNO, Select [OK].
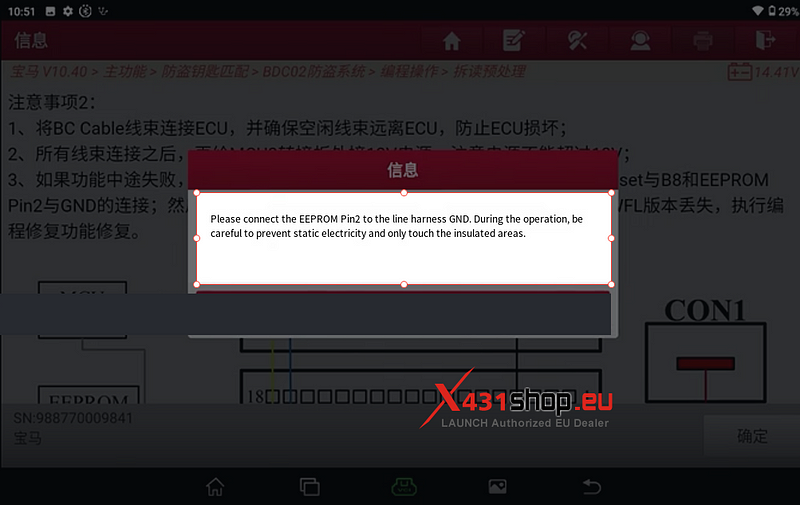
15. Waiting for Backup encoding to complete. Connect Pin2 and GNO, select [OK].
After disconnecting Pin2 and GNO again, select [OK].
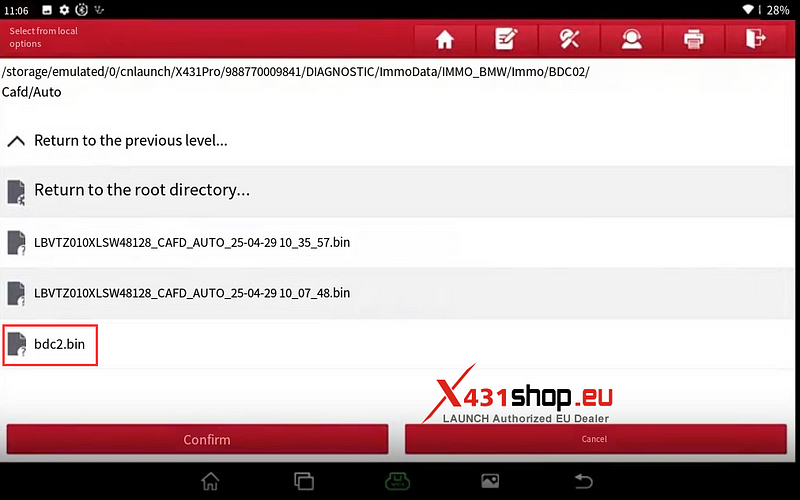
16. Wait for X431 tool to read the immobilizer data and upgrade ECU. When the screen displays [Preprocessing successful], select [OK]. To write the original car code (for example, the file name saved before in this article is "bdc2.bin"). After selecting the previously saved encoded file, Select OK.
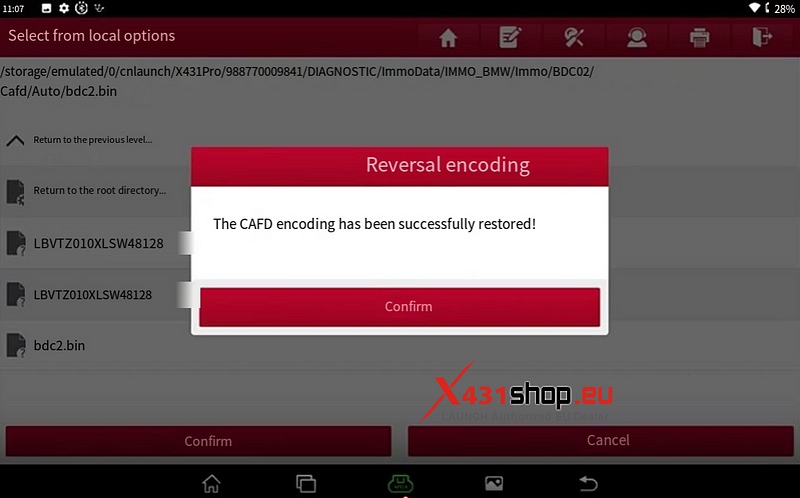
17. Wait for the code to be restored, and click [OK] after the restoration is successful.
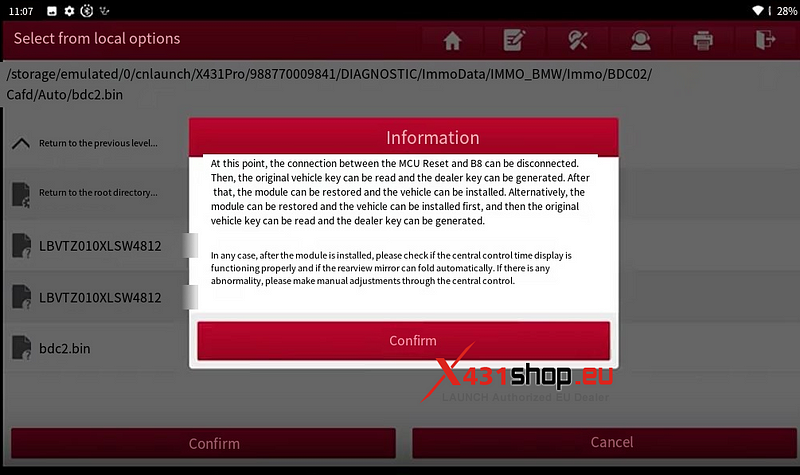
18. Disconnect MCU Reset and B8 on the G3 programmer, and select [OK].
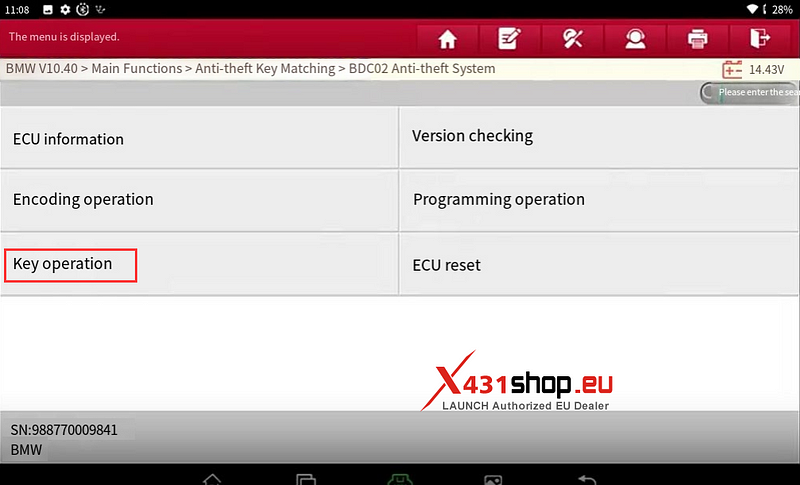
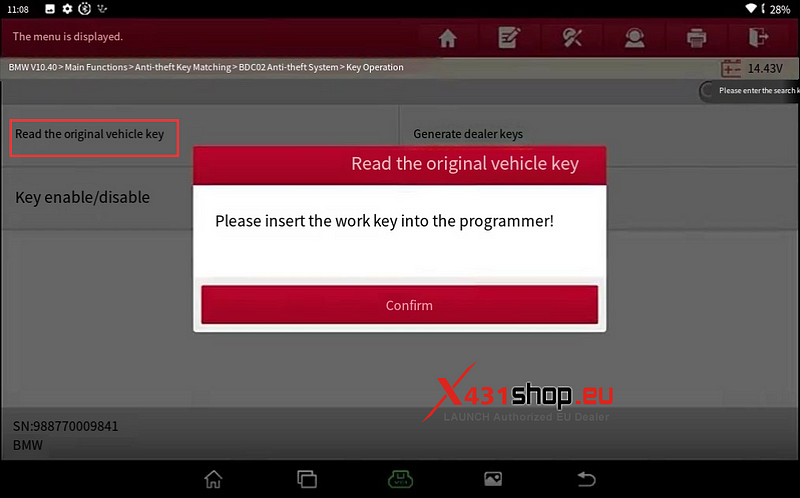
19. Select [key operation]
20. Select to [read original car key], put the original car keys in the G3 programmer. Wait for the data to be read and click [OK].
23. Select [Generate Dealer Key].
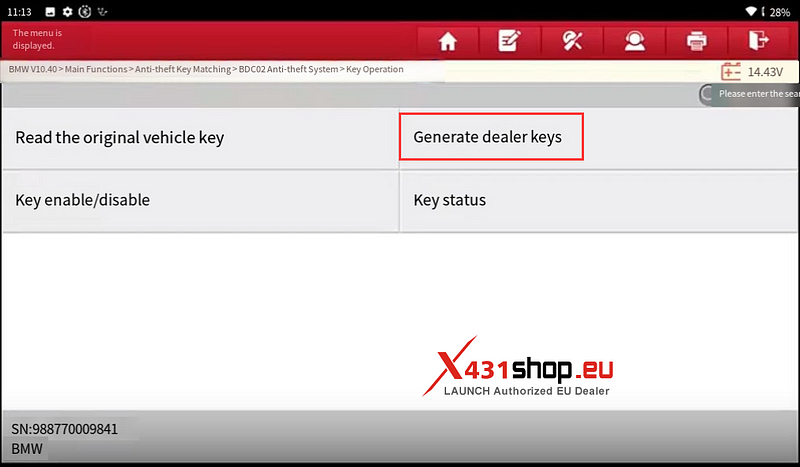
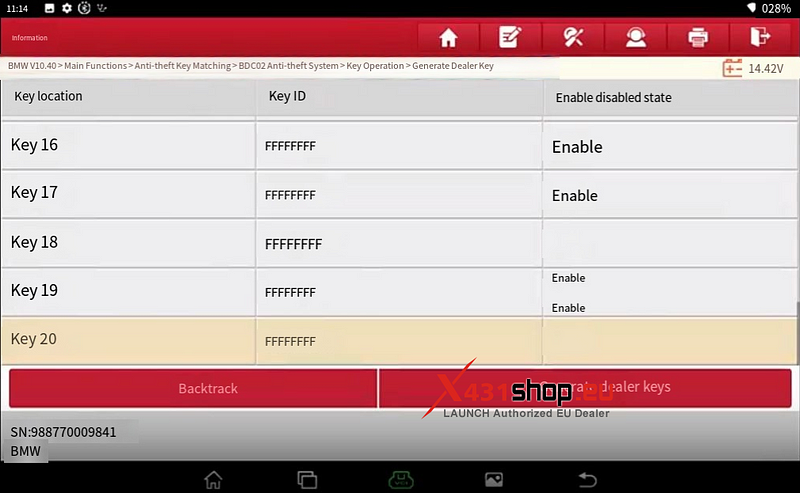
24. Select a key location, click [Generate Dealer Key]. Insert a new unlocked BMW G chassis key into the G3 programmer (please note that the F chassis key and G chassis key are not interchangeable).
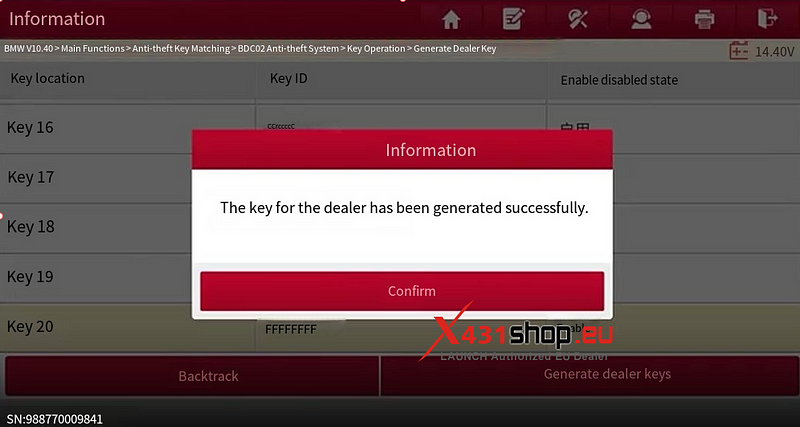
25. Wait for the key generation to complete, and select [OK] to exit.
Install the module and restore it, and stick the generated new key on the emergency sensing area under the steering wheel to try to start the vehicle. After the vehicle starts successfully, test whether the remote control function is normal.
If the test is OK, the job is done.


Comments
Post a Comment