LAUNCH X431 Pro Elite Tips: DIY Setup and Connecting to PC
The Launch X431 Pro Elite is one of the most affordable entry points into the LAUNCH diagnostic platform, offering reliable and consistent results. To help you get the most out of this tool, here are some top tips and tricks, from adjusting settings to transferring files and exporting data.
Note: Pull down the black slider above the X431 Pro Elite to see more options.
1. Master the Back Button
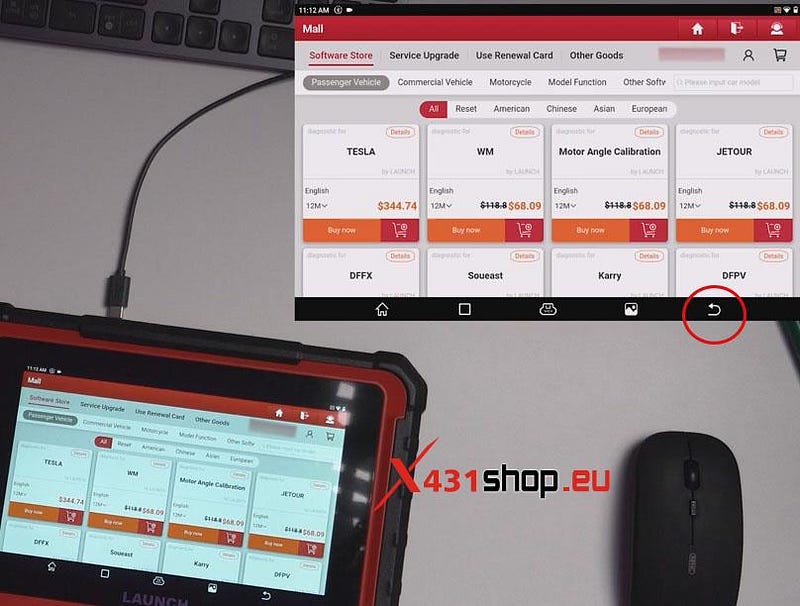
The back button is your best friend, especially when the keyboard takes up half the screen or when the tablet prompts you to connect to your Launch account without a WiFi connection. Using the back button allows you to continue scanning without interruption.
2. Key Settings Adjustments
a. Lowering Volume:
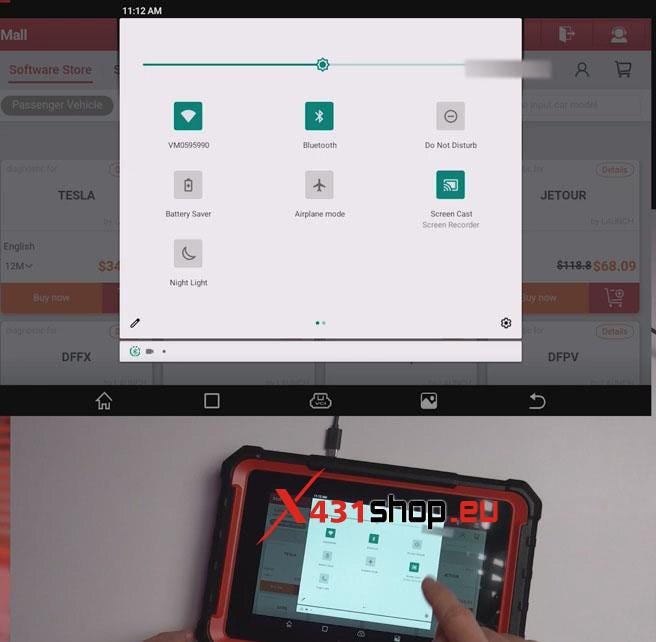
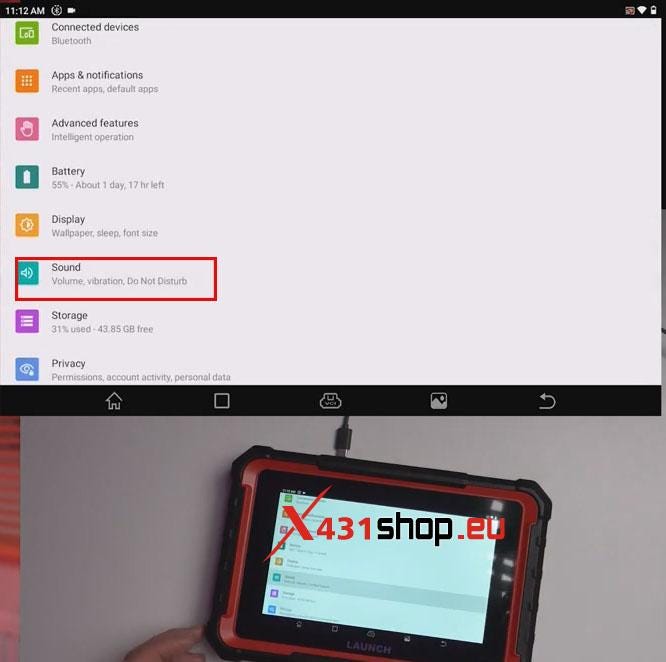
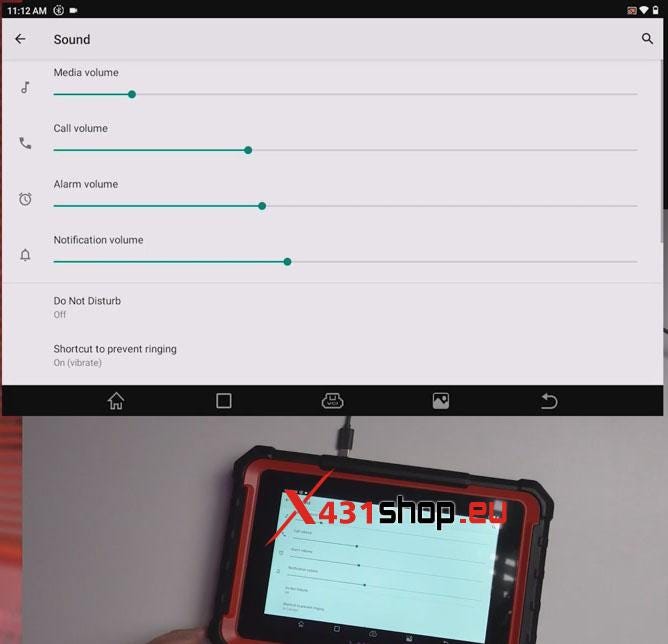
The volume can be annoyingly high by default. To adjust it, swipe down the top menu twice to access the settings, where you can reduce the sound to a comfortable level.
b. Enabling Battery Percentage:
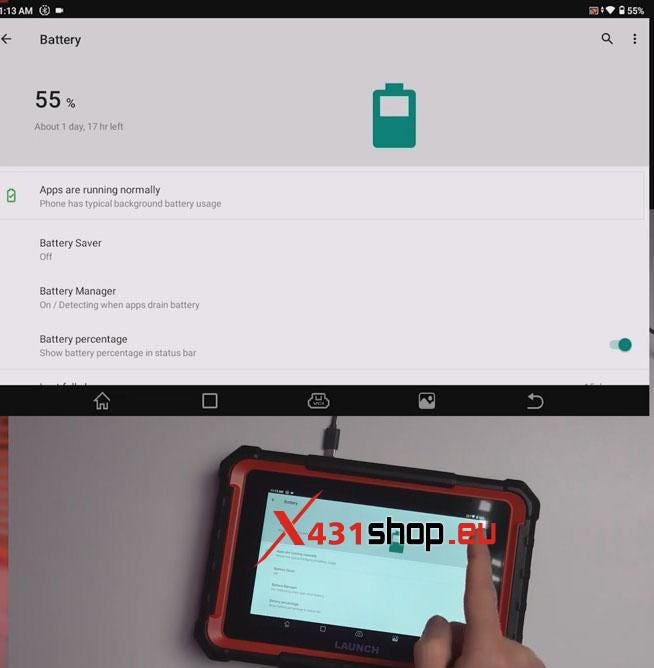
To display the battery percentage in the top-right corner, go to the Battery section in Settings.
c. Setting the Time Zone:
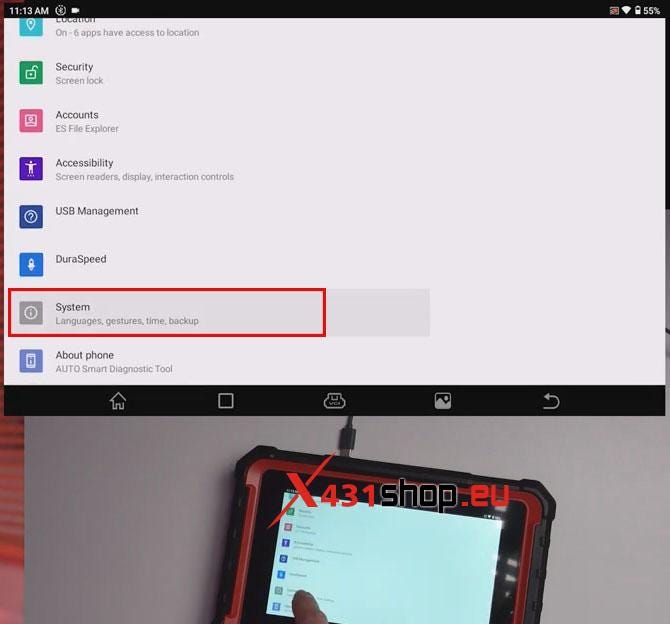

Ensure the correct time zone, especially for BMW diagnostics, as it affects the vehicle’s time when resetting maintenance schedules. Navigate to System > Date & Time to set the appropriate time zone.
d. Accessing Diagnostic Reports:
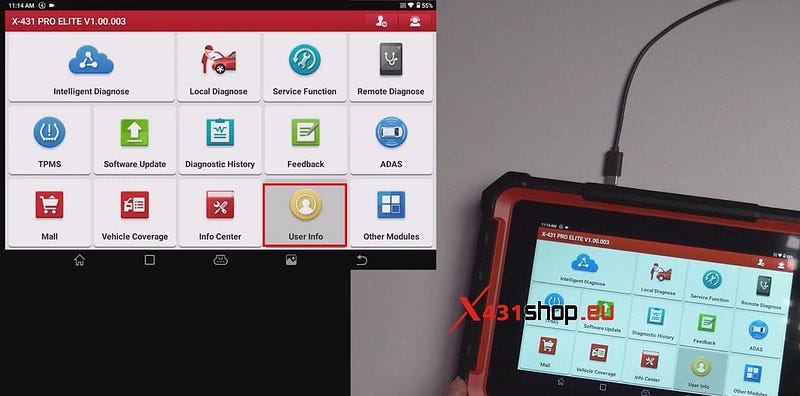
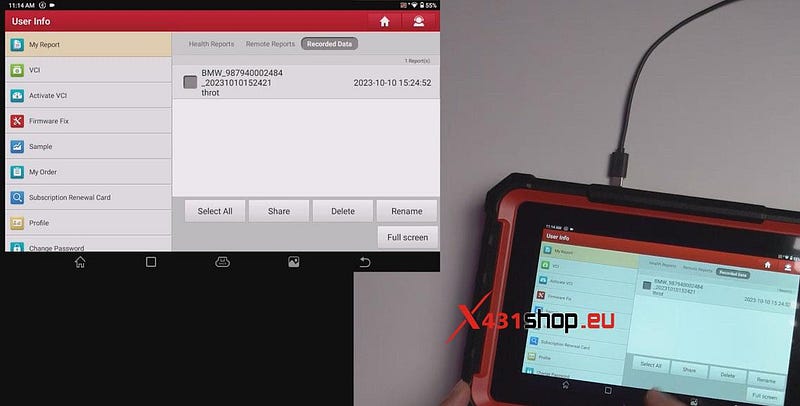
Reports and scans are usually stored in [Diagnostic History], but some may also be in the [User Info] tab under Health Reports. Intelligent scanning data is often stored in the cloud.
3. Transferring Files from Tablet to PC
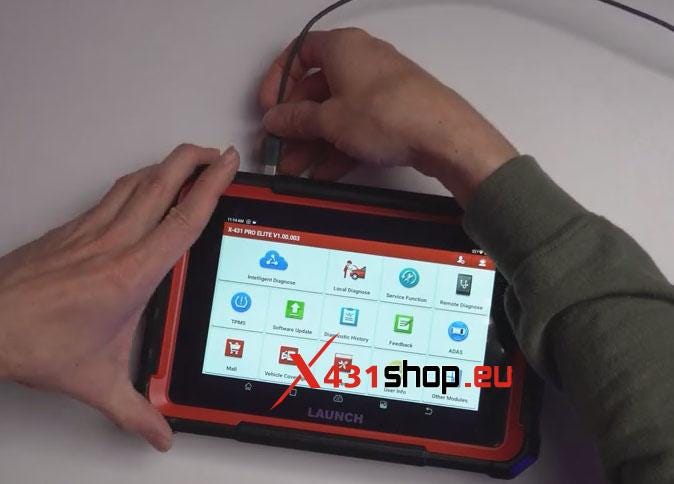
To transfer reports and files to your computer, navigate to USB management in the settings.
Note: Pull down the black slider above the X431 PRO ELITE display interface to quickly go to the settings option and enter USB management.
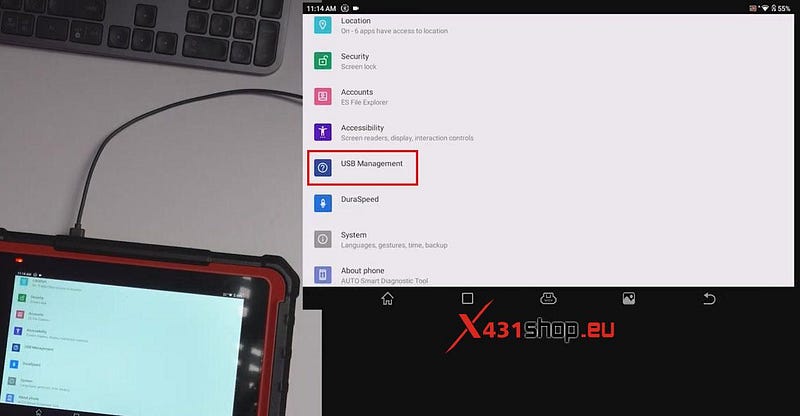
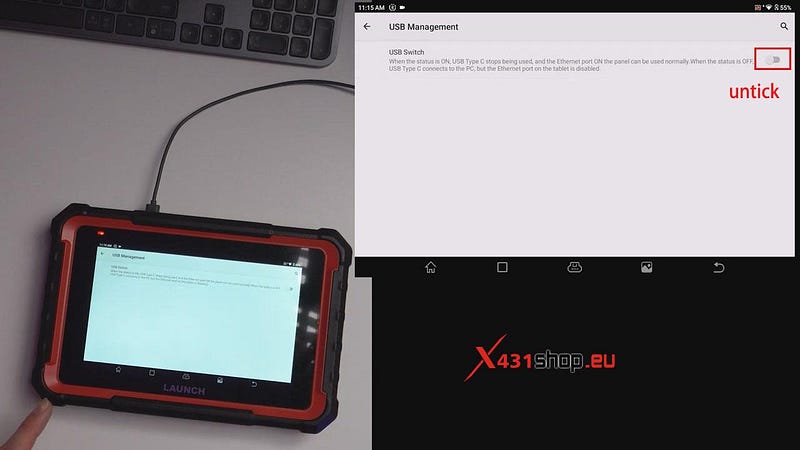
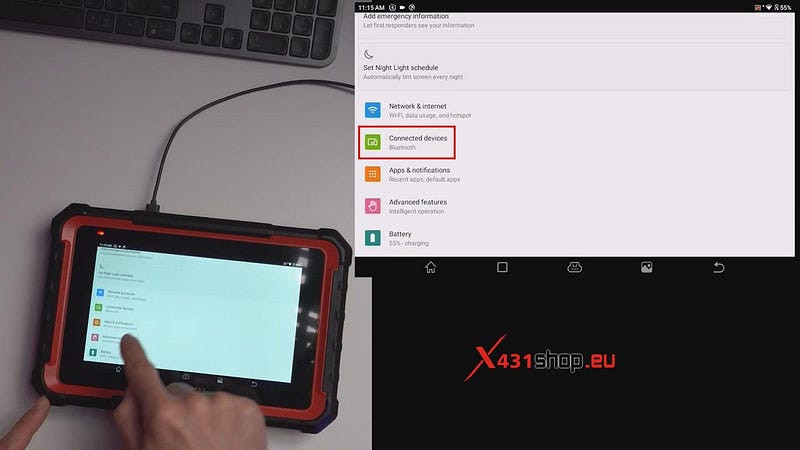
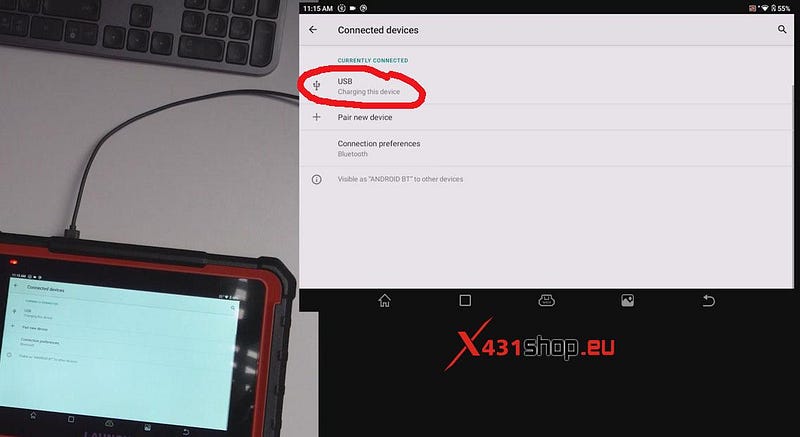
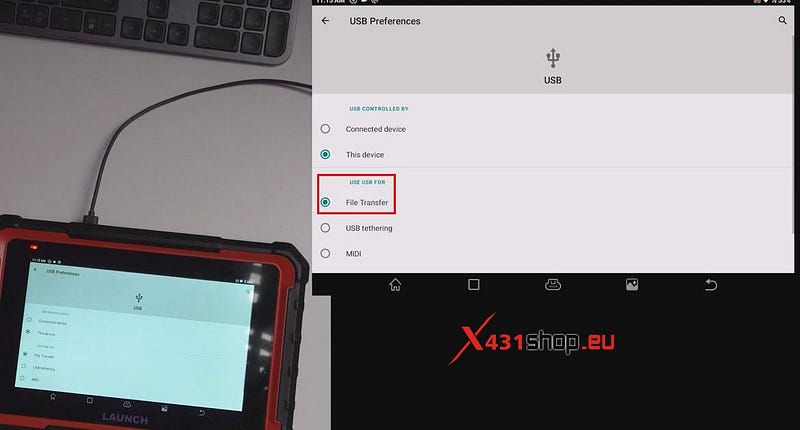
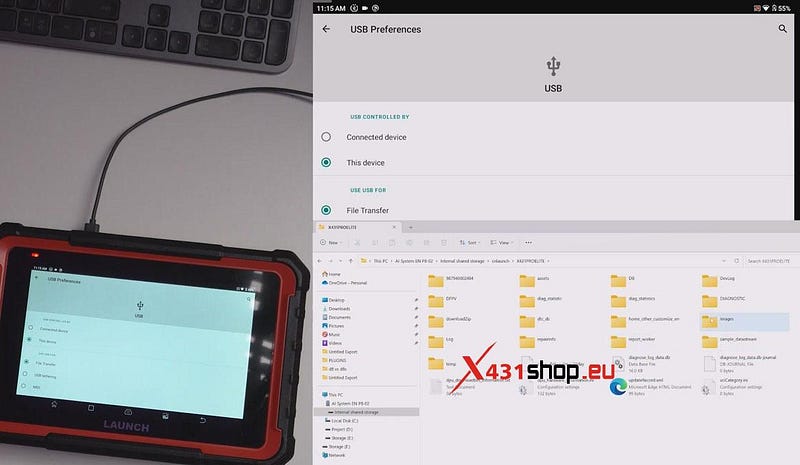
Turn off the USB switch, then go to Connected Devices > USB and select File Transfer. Once connected to your PC, reports are located in the "images" folder under the "cnlaunch" directory.
4. Downloading Apps to the Tablet
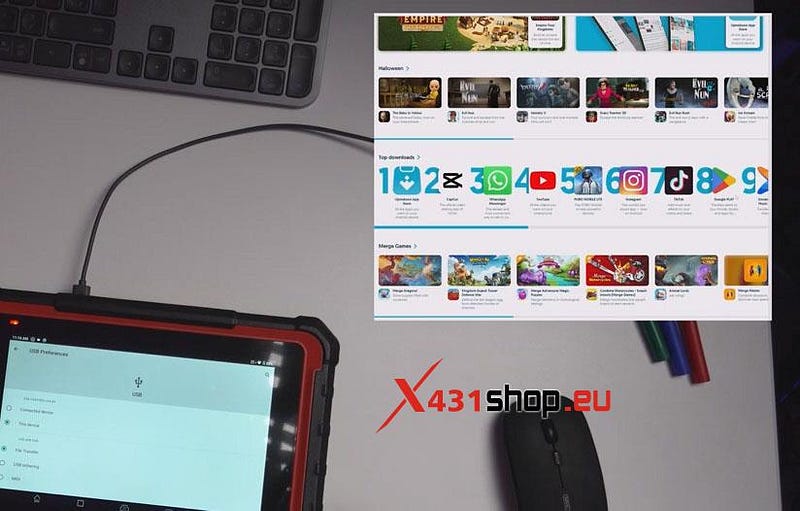
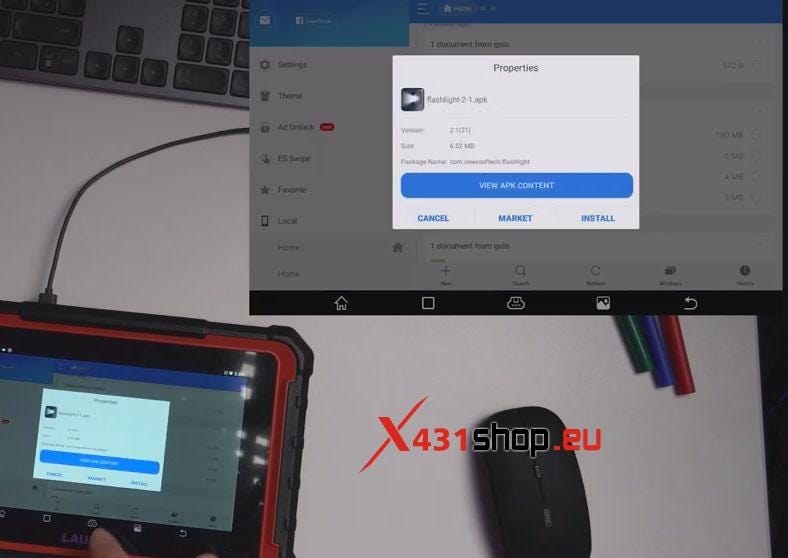
Since the tablet lacks Google Play, you can use platforms like "UpToDown" to download apps. Simply download the APK file on your PC, transfer it to the tablet, and install it. This method allows you to install useful apps like flashlight tools, YouTube, WhatsApp, and more.
5. Exporting CSV Files
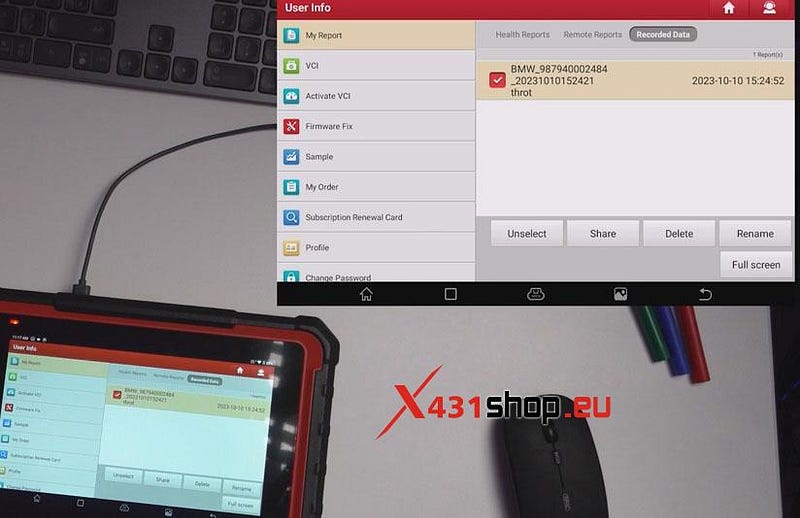
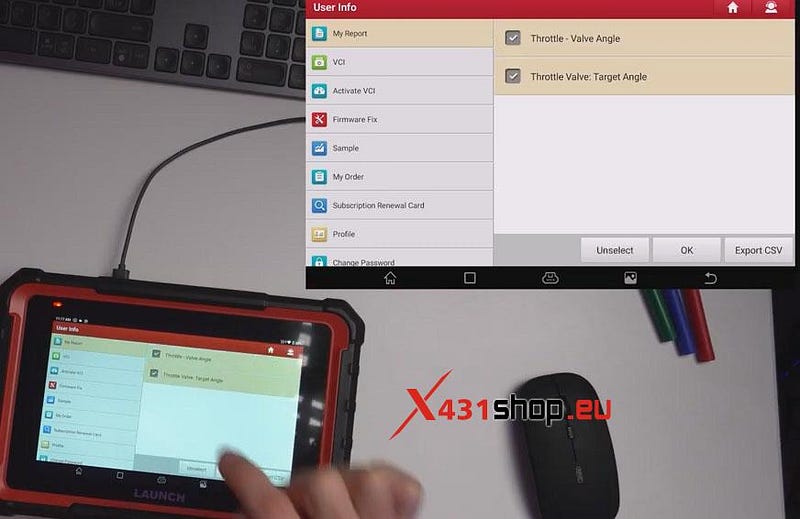
To export CSV files, go to User Info > My Reports > Recorded Data. Select the data you’ve logged, then choose Export CSV. The file will be saved in the same folder as your health reports, allowing you to transfer it to your computer for further analysis.
These tips will help you make the most of your Launch X431 Pro Elite, enhancing its functionality and ease of use.
Comments
Post a Comment