LAUNCH-X431 User Guide: How to transfer files to PC
This guide will walk you through transferring files from a LAUNCH-X431 device to a PC. We’ll use LAUNCH-X431 PRO3S+ as an example. This method is an alternative to using Google Drive. After connecting the LAUNCH-X431 device to the PC once, connect There will be no need to re-set up the PC, it will automatically allow file access via Windows File Explorer.
Device used:
Steps:
1. Connect the Device: Use the Type-A to Type-C USB cable to connect X431 PRO3S+ diagnostic scanner and a PC

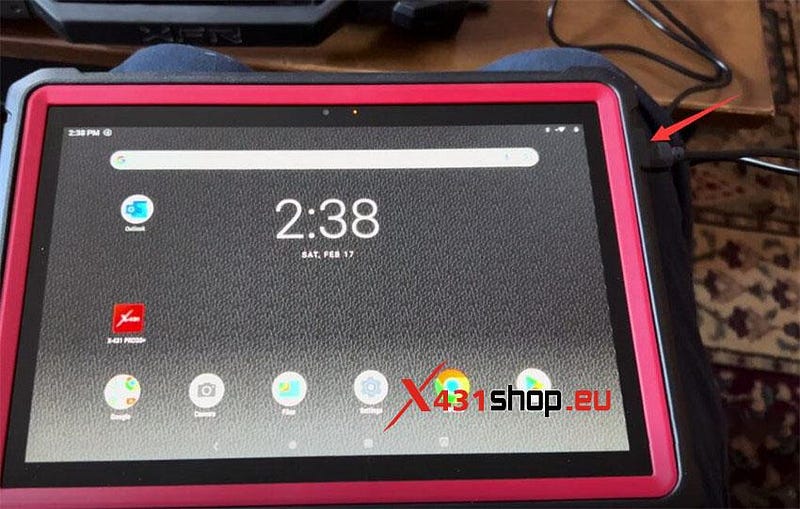
2. Enable File Transfer Mode:
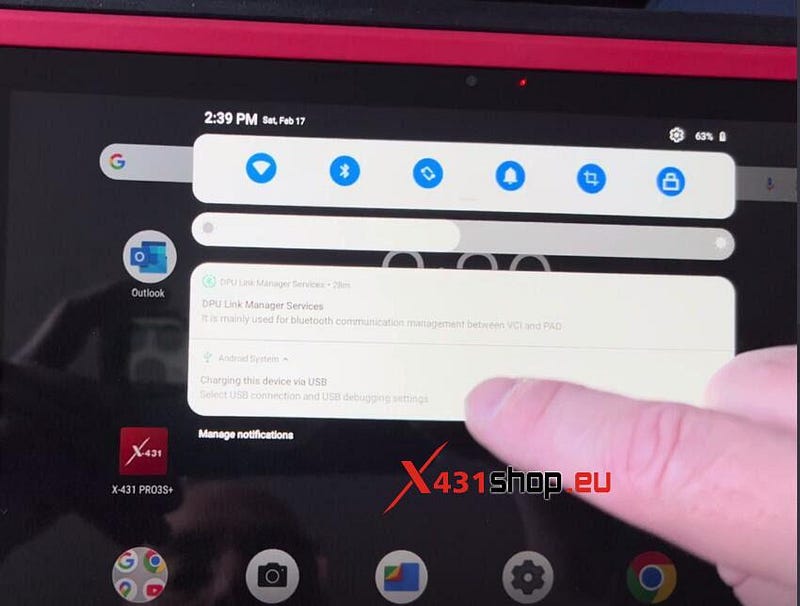
Slide your finger down the device screen
Find "Charging this device via USB", and then click it
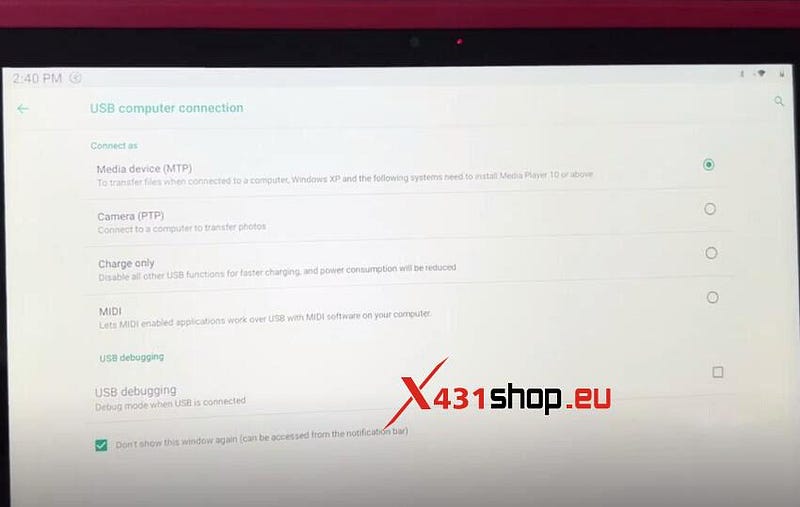
3. Access the Device on the PC:
Select the USB computer connection method: Media device (MTP)
This method can be used to transfer files when connected to a computer, Windows XP and the following systems need to install Media Player 10 or above.
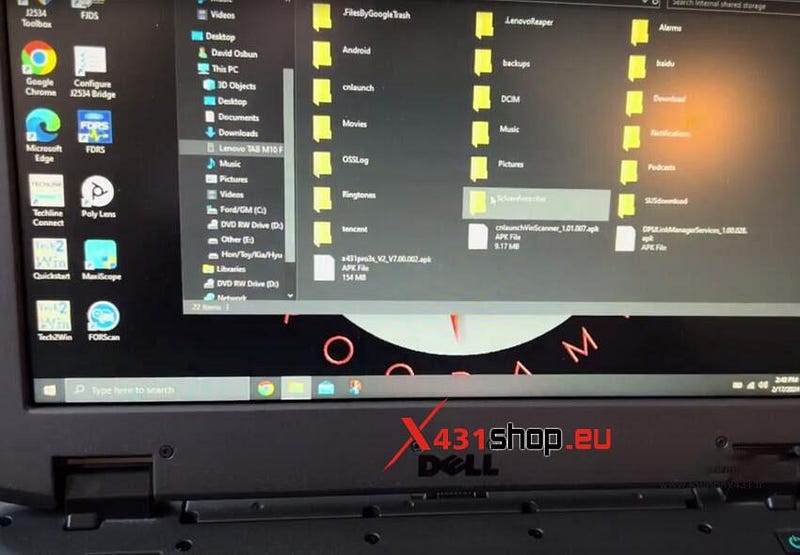
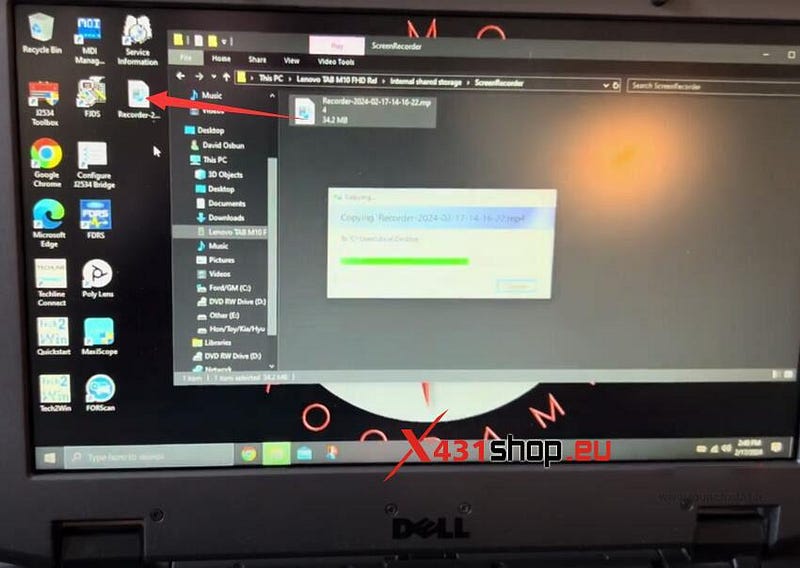
4. Transfer the File:
Go to the computer, select the tablet name (i.e. Lenovo TAB M10 FHD)>> Internal Shared Storage>> ScreenRecorder
Copy the recorder and paste it to the desktop.
Then the file is transferred from X431 PRO3S+ to PC successfully.
You have successfully transferred the file from the X431 PRO3S+ to your PC. This method applies to all LAUNCH-X431 tablets.


Comments
Post a Comment